Thursday, November 29, 2018

Women's Relaxed Peplum

I have a confession to make: I do NOT like peplums.

I know, that's not exactly a promising way to start a pattern review when you don't even like the style to begin with, but let me tell you, this peplum is not your average peplum!

First, I made a muslin, just like you are supposed to. I made the gathered high/low skirt and hated it! I don't know what I did, but it was too short and the fabric was too bright and I was so disappointed! But I am part of the Mamma Can Do It promotion team and I was absolutely determined to not let Kelsey and Elizabeth down. I re-evaluated the shirt and adjusted my measurements and tried again. This was the result and I couldn't be more pleased!


So, a little about the MCDI Women's Relaxed Peplum, there are two lengths, shirt, and tunic. The difference between the two is the length of the skirt, which is nice so that you can use the same top for all of your pretties. The side waist length and the finished lengths are given. This is so awesome because my side waist is a little bit longer than average even though I am much shorter than average, and it's nice to be told how much I will need to add rather than have to figure it out by measuring the pattern.

Size options:
  • Size 00 to Size 20 available (I made a size 18)
  • That is bust size 30.5 - 46.5
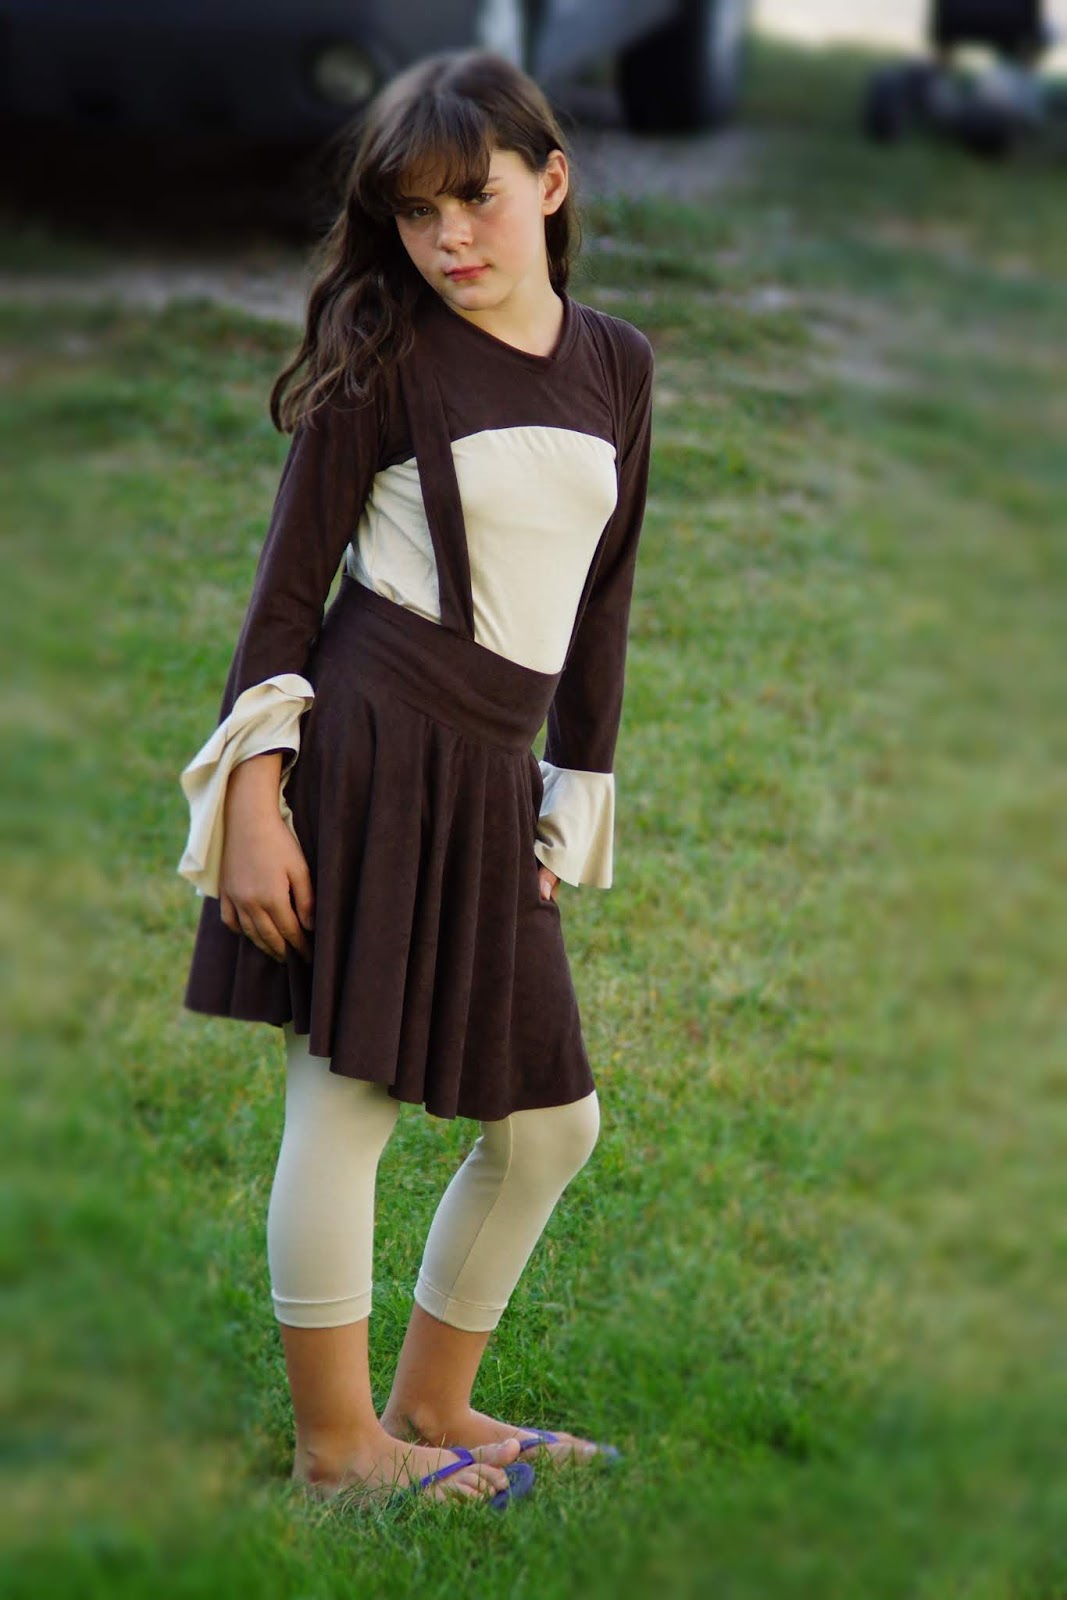
  • There is a matching Girl's pattern available as well (click here)
  • Super Hero Add on (click here)


Sleeve options:
  • Short (I lengthened mine by about 1 inch)
  • 3/4 length
  • long
Skirt options:
  • Circle peplum shirt and tunic length
  • Half circle peplum  shirt and tunic length (I made the half-circle in tunic length)
  • Gathered peplum shirt and tunic length
  • High/low peplum shirt front length to tunic back 
Neckline options with pattern pieces:
  • banding
  • binding (I used binding for my neckline)


Just a little about the PDF:

  • Has Layers to print only the size/sizes you want
  • Finished measurement chart
  • Fabric and supplies recommendations (I used a heavy 200 GSM Rayon Spandex)
  • Files to print on Letter, A4 and A0 paper
  • Step by step full-color photo instructions
  • Links to hacks, tips, and tricks from the testers directly in the pattern


After my first Relaxed Peplum turned out to be a dud, it was kind of difficult to cut into this beautiful Eggplant colored 200 GSM Rayon Spandex from So Sew English, because what if I hated it? I really didn't need to worry because this top was absolute PERFECTION!! I put this top and on fell in 💖 LOVE 💖 I felt so beautiful and so girly and this top was NOTHING like the first one I made. This was definitely not a flop!

And even though I haven't made another, gotta find the perfect fabric first, I do plan on making another. Maybe with the full circle peplum next time. This is a beautiful and well put together a pattern that I would definitely recommend, especially if you like the peplum style! There are so many combinations that this one will keep you busy for a good long time!

So, what is your final verdict? Do you like peplums? Why or why not?

The links provided in this post may be affiliate links where I receive a small commission from your purchase at no extra cost to you. Thank you for supporting me, my blogging and my sewing!

Thursday, November 22, 2018

For Love of the Teddy

I claim that I can sew anything. I have had some experience in just about every area of sewing I can think of and I usually have some success. But this time, I needed to figure out how to sew love. My sweet little neighbor brought me over his teddy bear that his new puppy helped himself to and the poor guy was missing ears and a tail. With big, sad eyes Isaiah asked me to fix his ear but he didn't need a new tail. How on earth could I tell him no?

A few before shots


After taking a close look at Teddy's injuries I decided to start with the ears and there was no saving them, unfortunately. So I took the time to slowly remove the partial ears leaving some big holes that would need to be sewn up when the new ears were inserted.


This side actually had a large tear in the fabric that I didn't even know was there until the ear came out. Poor little guy! He also had a seam split on his tummy and one at the back of his neck. I'm not sure those were from the dog, but once Teddy was put in my hands he would receive the best care I could give him.


I just happened to have to fleece in my stash that was the perfect color, I used one of the missing ears and made an ear that seemed to be the right size and shape and then added seam allowance all the way around. Then I cut 4 the exact same size and shape and put two wrong sides together and serged them together, slipped them inside Teddy's head and used a ladder stitch to sew the ears in and closed all the extra holes, including the one where his tail had once been.


After a good brushing Teddy was just about ready to be handed back into the arms of his little boy.


After a quick photoshoot, Teddy was ready to go home!


There was no better reward for this little project then this little letter from Isaiah and his sister Dahlia. These kids! This, this is why I sew!


The links provided in this post may be affiliate links where I receive a small commission from your purchase at no extra cost to you. Thank you for supporting me, my blogging and my sewing!

Thursday, November 15, 2018

How to Measure Yourself

The second anniversary of my very first PDF pattern is coming up! I can't believe it's only been two years! I have come so far and learned so much. There are a lot of things that I remember hearing of when I started that seemed so foreign back then and now they are like second nature.

Sewing isn't difficult. It's actually pretty easy to push a needle and thread through a piece of fabric. But knowing how to get flat pieces of paper arranged on fabric and puzzled together to turn into something that is not only wearable but adorable, that is the hard part!

I am not a designer. Yes, I have drafted my own patterns from existing clothing, but that's really been a hit or miss endeavor for me. I have not, and most likely will not be a designer myself. I'm a lot more of the teacher type then the creator type! 😄

With teaching in mind, I'd love to share with you a blog that I recently posted over at Ellie and Mac. Lindsey and her team have so graciously accepted me into their blogging corner where I get to take the reigns occasionally and teach to my heart's content!

For November I decided that one of the first things you need to learn when you start sewing is how to measure yourself (or whomever you are making clothing more) correctly. Because when you are using flat paper and cutting floppy fabric and expect it to wrap around you just right, you really want to make sure you are using it all properly so you aren't super sad after your foray into the great world of sewing.

So, without further ado, here is the link to whisk you away to the Ellie and Mac blog all about measuring properly and what you can do with some of these measurements. 


When you get back, please share with me one thing you learned that was new and one thing that I missed, if you catch any. I'd love to learn something new from you!

The links provided in this post may be affiliate links where I receive a small commission from your purchase at no extra cost to you. Thank you for supporting me, my blogging and my sewing!

Thursday, November 8, 2018

Girl's Be Confident Update

Here we are, at the beginning of our testing journey for Ellie and Mac. Where I was beginning to learn and understand my skills and my worth and where I was headed as a sewist. It was right about this moment, after completing the Girl's Be Confident Tunic update and fighting with my daughter to get a few half-decent photos that I began to realize just how much I enjoyed this wild and crazy mess and that even if it was a fight to get things right, I was really enjoying the ride!


The Be Confident is supposed to be a tunic length shirt, but it is a little on the long side for Kay. A quick look at the tester pictures will show that there is a pretty good amount of variety to the lengths depending on the height of the model. It seemed that the moment people began adjusting for height it shortened or lengthened almost too easily. I probably should have adjusted Kaylie's version to be shorter considering she measured for a 12 around for a 10 in height.

This pattern is designed to have a high/low circle skirt with seams down each side. It was a surprisingly quick sew, thanks to the lack of sleeves and bands and the rolled hem on the skirt for a hemming option. I loved how some of the testers did a lettuce hem and I'd like to make this tunic again and use a lettuce hem! And guess what, they have a Women's Be Confident version too!!


Fabric for this tunic was a pretty light blue double brushed poly from Knitpop that just so happened to match perfectly with a t-shirt I picked up from a second-hand store in town. I couldn't have been more pleased and Kaylie adored the floral fabric that I so rarely purchase.

The Capri leggings are Bonny's from Made for Mermaids in a peachy colored double brushed poly that I've had long enough that I don't have an order history for it. Later, I also made her a cropped Cocoon Cardigan without any bands from Patterns for Pirates so she could feel comfortable wearing it to church because of the lack of sleeves.

I was the photographer for this photo session and I really felt like it could have been done a lot better. I am not the biggest fan taking pictures and I never have been. It's a good thing I'm married to a man who loves taking pictures.


Why did you start sewing? Or if you haven't actually started, why do you want to start sewing? Tell me your back story!

The links provided in this post may be affiliate links where I receive a small commission from your purchase at no extra cost to you. Thank you for supporting me, my blogging and my sewing!

Thursday, November 1, 2018

Girl's Be Smart Jumper Update

This summer, Lindsey, the designer over at Ellie and Mac was hard at work updating all her patterns to have no trim pages, trying to update the intended fit to make them more trendy, and increase the size range if possible. This skirt now goes from size 12 months to big girl size 12. A Women's Be Smart Jumper was also added to the pattern line up! I was lucky enough to be able to help with the update of the Girl's Be Smart Jumper.


This adorable circle skirt comes with a high and low waist option with both skirt options ending just above the knees, and adorable suspenders that cross in the back! Sweet and simple and absolutely adorable! The Be Smart Jumper calls for a knit material with 4 way 50% stretch with good recovery for the suspenders and the waistband. A few people have even tried using a woven for the skirt and had great success. That increases the versatility of this pattern and opens up a whole new world of looks!


The fabric we used here is a stretch suede Value Fabric from Walmart with plenty of horizontal stretch but no vertical stretch and we could definitely tell. The suspenders didn't quite have the stretch to be super comfortable and Kaylie hasn't worn this skirt since these pictures were taken. Oh well, you live and you learn, good thing it was cheap fabric.


The shirt Kay is wearing is a long sleeve Discoverer Tee, also from Ellie and Mac, I added a self-drafted flounce to the sleeves just to make it a little more fun. Kay loved the sleeves! It is very reminiscent of the new Women's Day to Night top.


Those cute Capri leggings are the free Bonny Leggings from Made for Mermaids. Kaylie loves these leggings! She has several in lots of colors and several different lengths. They are a quick and easy sew and a must for anyone wanting to try making their own leggings.

So, tell me, have you ever used a fabric very different from what a pattern called for and it completely destroyed your pattern? Or maybe it made the pattern perfect? I want to hear about it!

The links provided in this post may be affiliate links where I receive a small commission from your purchase at no extra cost to you. Thank you for supporting me, my blogging and my sewing!