Recently I wrote a blog about doing a Swayback adjustment. Its something I do on a regular basis but I began to realize that not everyone knew what it was or knew they needed one, so I began writing. I love blogging for Ellie and Mac for that exact reason, it helps me see where I need to help others.
So, here I am going to leave you with a snippet of my "Swayback" blog and hope that you go over the Ellie and Mac blog for all the details! Thank you!!
"Hello, friends! It's Nellie again, from Sorry About the Mess. Bringing you another instructional blog post. I'm not sure if you'll want to cheer or groan, but here it is either way. This time we will be talking about swayback adjustments.
Okay, I'm not going to lie, this is a hard one to diagnose because the little ripples at the small of the back have multiple causes, but for the sake of this post we are going to assume that sway back is the only cause, but we will talk about some of the other causes.
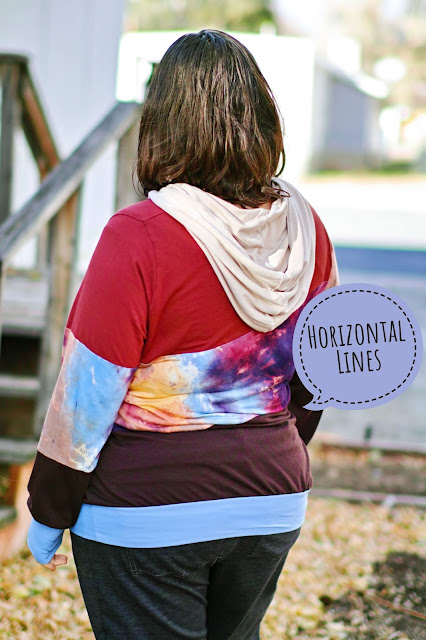
First, let me show you what it looks like when you need a swayback adjustment. This is my Around the Block Hoodie. Adorable, huh? A few things to notice about this hoodie, first, my band, it is pretty straight across my tush, it isn't pushed up over my hips and it fits pretty well, not too tight, not too loose. My back is straight and my shoulders are back. This fabric is rayon spandex, that's important because rayon grows and will exacerbate the problem. Okay, now I need to point out all the wrinkles and extra fabric pooling right at the small of my back. Yeah, that's what says I need a swayback adjustment.
Now, if the band was constantly pulling up over my tush, or if the band was too snug, that might indicate that I might need to grade out more in the hip, or maybe even need to do a full booty adjustment (that tutorial will come, eventually). Basically, this pooling can also happen when there isn't enough room in the garment for the tush and the fabric wiggles its way up to a smaller, less restrictive place and pools at the small of the back.
Here is another example of me needing a swayback adjustment on the Discoverer Tee. Part of the need for a swayback adjustment on this shirt comes from being too tight on my hips (this was before the update and a super quick sew so I forgot to do my usual adjustments). But for this tutorial, we are going to assume that I just need a swayback adjustment and my grading is correct.
There is really only one way to determine the amount of adjustment that needs to happen. And that's by making a top or dress, putting it on and seeing/feeling the extra fabric and then having someone help to "pinch" out the excess fabric.
It is important that the person clipping the excess knows what they are doing so you don't get results like the one above. Miss 11 was "helping" me and wouldn't listen to my advice about where my waist location was. The fabric for this top is a bunch of very drapey mystery fabrics and I have gone down a whole size since making this shirt, so there are a lot more lines and room then there would be if I had been wearing my proper size. So use this photo only as a rough example of how your "pinching out" should look.
You can kind of see where clips in the center have "pinched" out the most fabric go to having nearly zero "pinched" out at the side seams. If you happen to have fabric to pinch out all the way around the top, you would probably benefit from a height adjustment rather then swayback. There should only be an extra wedge of fabric that needs to come out. And unfortunately, with most shirts and dresses without a waist seam, this can't be done on an already made shirt, you'll have to start from scratch. The amount of fabric pinched at the center is the amount that we will adjust for. For me, this amount is 1.5 inches.
Speaking of starting from scratch, let's take a look at a pattern that is perfect for explaining how all this works, the Tulip Dress and Tunic. The Tulip dress is perfect because it has a center back seam., but the seam is a straight seam, so it's easy to adjust for and easy to remove if you want to cut it on the fold instead of with a seam. When adjusting for swayback with a top that has a center back seam, the adjustment is quick and simple. Let's go through it.
...
And that is it my friends. That's how you do it. A swayback adjustment in two ways. To be honest, there are other ways to do a swayback adjustment, but these two happen to be the easiest to understand to do. And I will leave you with a few of my creations with a swayback adjustment.
My Everyday Tee Relaxed fit with a swayback adjustment. Check out how it hangs straight down from the back of my shoulders, just how it should!
Everyday Tee fitted version with a swayback adjustment. The hem falls nice and even around my hips.
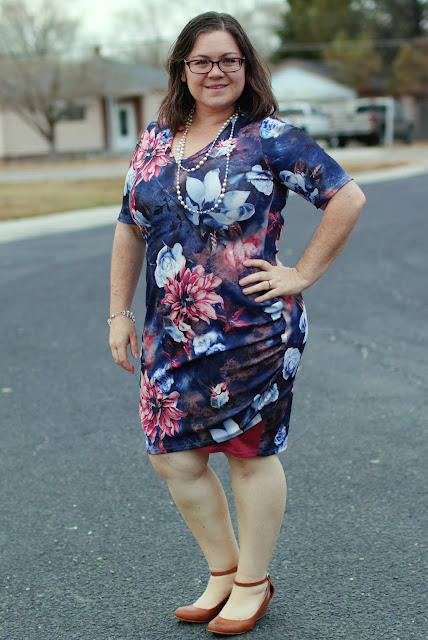
Even the Tulip, a body con dress, sits nice and even across my hips and smooth on the small of my back. Oh my goodness, I am so grateful that I learned how to do a Sway Back adjustment! And I hope you enjoy learning to do one yourself and make lots and lots of beautifully fitting tops with this new adjustment! ... "
Such a fun blog for me to write! And I got a gorgeous new dress out of it!! If this is something you are interested in learning more about, please consider supporting Ellie and Mac and their decision to have me a guest blogger by clicking the link to my full swayback blog HERE. Thank you!!
The links provided in this post may be affiliate links where I receive a small commission from your purchase at no extra cost to you. Thank you for supporting me, my blogging and my sewing!


